Saturday, 8 March 2014

Red Velvet Cookies

 I have always loved baking, so I am really glad I started sharing my baking bits with you all. When I saw this recipe online I was very excited and knew that I had to share this with you all. Red Velvet cookies I was excited and they were amazing!!!

You will need!
2.5 Cups of plain flour
2.5 tablespoons Cocoa Powder
1.5 teaspoons  of corn powder
0.75 tea spoons of baking soda
0.5 tea spoons of salt
8 tablespoons butter
6 table spoons of vegetable shortening (I used margarine)
1.5 cups of granulated sugar
1 large egg
1 large egg yolk
1.5 teaspoons white vinegar
1.5 teaspoons vanilla extract
1 teaspoon red food colouring
1.5 cups of white chocolate chips

Step one - Preheat the oven to 200 degrees and in a medium bowl mix together the flour, cocoa powder, corn powder, baking soda, salt and then set this all aside.

Step two - In another mixing bowl, cream together butter, sugar and vegetable shortening (margarine). You will need to mix this all together until fluffy for about 3 mins. You will then slowly need to add the egg yolk and egg. Then you will need to add the vinegar, Vanilla and food colouring.

Step three - add in all the ingredients that have been sat aside in the other bowl slowly. You will probably want to use a electric whisk to do all this. Then add 0.5 cups of the white chocolate chips. Even though I didn't do this I added the whole lot in then read the recipe properly, woops. 

Step four - when all combined you will need to make sure that you have lines a baking tray with some greasy proof paper to ensure that your cookies don't stick to the tray. Then use a table spoon and put table spoon sized balls onto the baking tray. I would leave a 2 inch gap between each cookie to ensure that they don't merge together.

Step five - place cookie dough into the oven for approximately 9 minutes, some of mine only needed 8 minutes but it depends. After you have taken them out let them rest on the tray for 2 minutes before you move them onto the wire cooling rack.

Step six - allow to cool then ENJOY!!!

I loved making these if you need any more help just comment below, just remember that I'm not a baker so I probably don't know a lot. 
Thanks for reading 
Lot's of love 

Tuesday, 4 March 2014

Vaseline Spray & Go - Review


When I first saw this product I thought, how lazy but then I bought it and I love it. I am very forgetful and even though I have body moisturisers in my bath room and bedroom I still sometimes forget to apply them. I always cant be bothered to sit there waiting for them to soak into my skin. The thing I love about this product is the convenience it's so quick and easy to use, you just spray it on rub it in and you are done. The scent of this is also lovely and fresh there was a shea butter one also but I just prefer the scent of this one. It feels fresher. This product feels like more of a thin cream to a body butter for example. This is very easy to rub in and it soaks in to your skin a lot quicker than other products as I feel with this you don't over apply. With creams that are in a pot I tend to put too much onto my skin and I end up having to stand there and rub it in for hours (over exaggeration there) but it takes for ever. This Vaseline Spray & Go body moisturiser is non greasy in scent Aloe Fresh. To spray you hold it 4 inches or 10 cm away from body and spray.

I would recommend this product to anyone as it is amazing. Its been giving my body the drink its needed. You can buy this product from boots for £4.99.
Thank you for reading
lots of love


Sunday, 2 March 2014

Barry M - Silk Nail Polishes


This is just going to be a short post of my thoughts and swatches of these polishes to hit the nail scene. I saw these polishes the other day in boots and thought they looked beautiful. I loved all the colours and thought they would be amazing for spring. So I bought them all ooppps... I believe they only have 6 shades in this line at the moment but I'm sure that they will bring more shades out if they prove to be a hit. I have swatched all of them but not on my nails as I love the shade I'm wearing too much at the moment to change them. I hope this way of swatching is enough for you to see the colour pay of in all of the shades. They look like a brilliant formula, they are a pearlescent polish that creates the look of silk on you nails. I love them and can't wait to actually use some of the polishes on my fingertips. I picked all of the colour up from Boots for £3.99 at the moment they have 3 for 2 on 1000's of products so it worked out that I got two of these for free. 
The colours left to right are Truffle, Pearl, Mist, Heather, Blossom and Meadow.

thanks so much for reading
Lots of love


Saturday, 1 March 2014

Pancakes!

Pancake day is springing up on us, so I thought I would show you how I make a perfect pancake and what I have on top of them (who only has one pancake!).

You will need
To make - 
110 grams of sifted flour
2 free range eggs
200 mls of milk mixed with 75 mls of water
50 grams of butter
Pinch of salt

To serve - 
Blueberries
Nutella
Orange
sugar
Golden Syrup
(choice of topping)

Step one - Sift the flour and salt into a large mixing bowl

Step two - Make a little dent into the middle of the flour mix and crack the eggs into the middle. You will then need to start to whisk the eggs and flour together you will need to ensure that you get all of the flour from around the edge of the bowl.

Step three - Still whisking you will need to start to add the milk and water mix. Keep mixing until all lumps disappear. You will now need to melt the butter. 

Step four - Place 2 Table spoons of the melted butter into the batter mix, and leave the rest to one side for lubricating the pan. You will do this buy using a small amount of grease proof paper to help move the butter around the pan be careful not to burn yourself. 

Step five - you will need to use a frying pan for this you will need to make sure your pan is greased to prevent sticking. Then you will need to put a thin layer of mixture in the pan.

Step six - You will need to let the mixture cook in the pan for about 2 minutes on each side, depending on what setting the hop is on as soon as the mixture is solid, you will need to use a fish slice to flip over the pancake, this will then need to cook on the other side, you will then need to place your pancake onto a plate and wala your pancake is served.


As you can see my pancake on the left flipped wrong and then stuck, there was no way I could have rescued that. But apart from that one the rest were okay.
This was the pancake I broke hence why it doesn't look as nice as my other ones woopsiee, I topped this pancake with Nutella and strawberries


This was possible my favourite and the messiest as the blueberries all fell out and went everywhere.
Topped with fresh blueberries and golden syrup

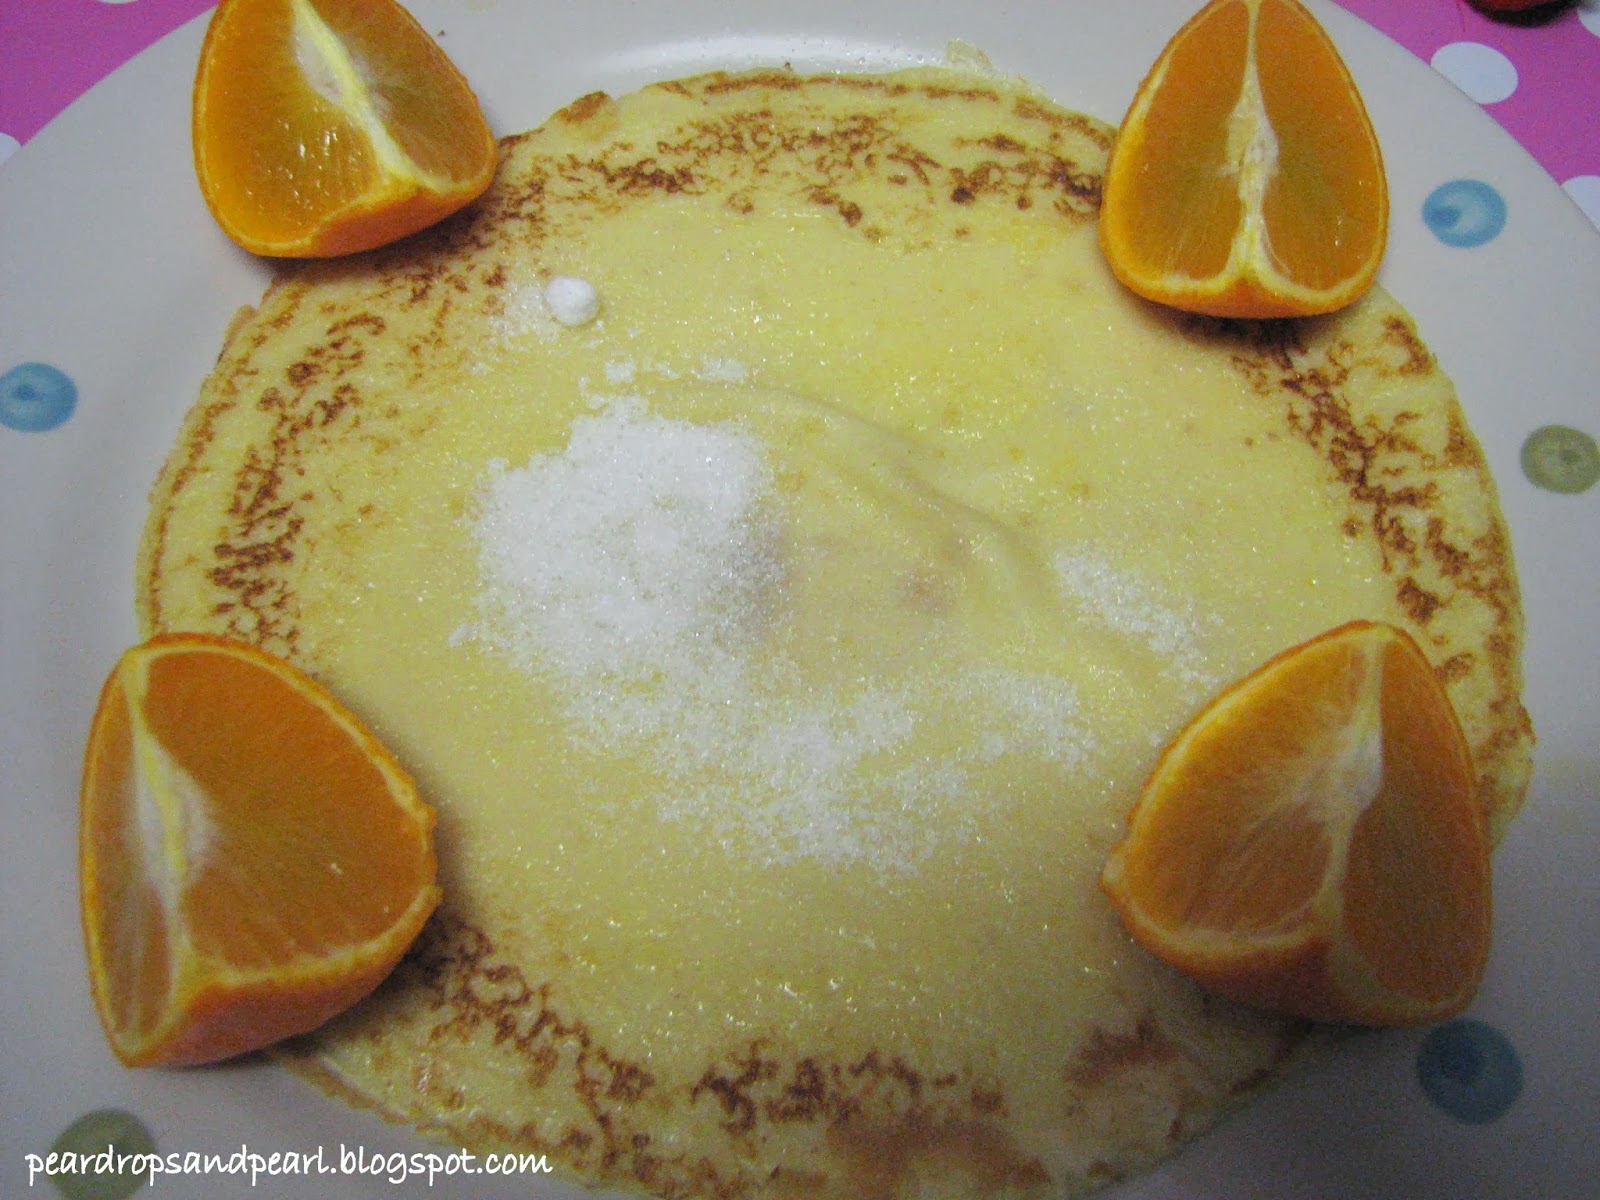
Orange and sugar my all time favourite this reminds me of when I was a child as I used to have this and lemon all the time. 
Its safe to say that these all filled me up as I couldn't just waste them after writing this post.
I hope this has given you some inspiration for pancake day, thanks for reading lots of love


Blueberry Muffins

I personally love all things blueberry, so it only seemed right for me to show you how I make blueberry  muffins.
What will I need?
110 grams of plain flour
110 grams of butter
 65 grams of caster sugar
 free range eggs
1.5 teaspoons of baking powder
125 grams of blueberries
Step one - Cream together the butter and sugar, you can do this with a whisk or by hand it doesn't really matter.
Step two - After you have creamed together the butter and the sugar, you will need to slowly start to add the eggs, whilst still mixing. 
Step three - You will now need to add the flour baking powder and nutmeg, I folded the mixture in but you can continue to whisk, just do what is easiest for you.
Step four - If you are making these quickly you may not have time for this step but, you are supposed to place the mixture in the fridge over night, or for a minimum of an hour. I didn't want to do this as I wanted to make them that night. So I left the mixture in the fridge for about 4 hours and they still turned out okay.
Step five - Simply add the blueberries.
Step six - you will need to spoon the mixture into the muffin cases filling the cases to just over half way with mixture. You will need then to put them into the oven at 200C for between 20 minutes you are best to keep checking on them, they will be ready when golden brown on top. When taking them out of the oven place them on a cooling rack until cool. Then enjoy!!

Thank you so much for reading this post.
Lots of love